
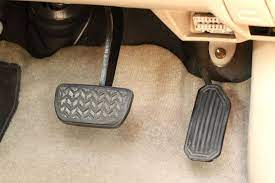
Gas and Brake Pedals: What Are The Differences? The brake and gas pedals are the…
Category: Maintenance
Cars


Continue Reading
Best Garage Door Insulation In 2022
In this guide ,we are going to provide you with a full list of the…
Car problems

Continue Reading
Where Is Hyundai From and Does Hyundai Own Kia?
Where Is Hyundai From? Hyundai is headquartered in Seoul, South Korea. It’s a multinational corporation…
Car problems
Continue Reading
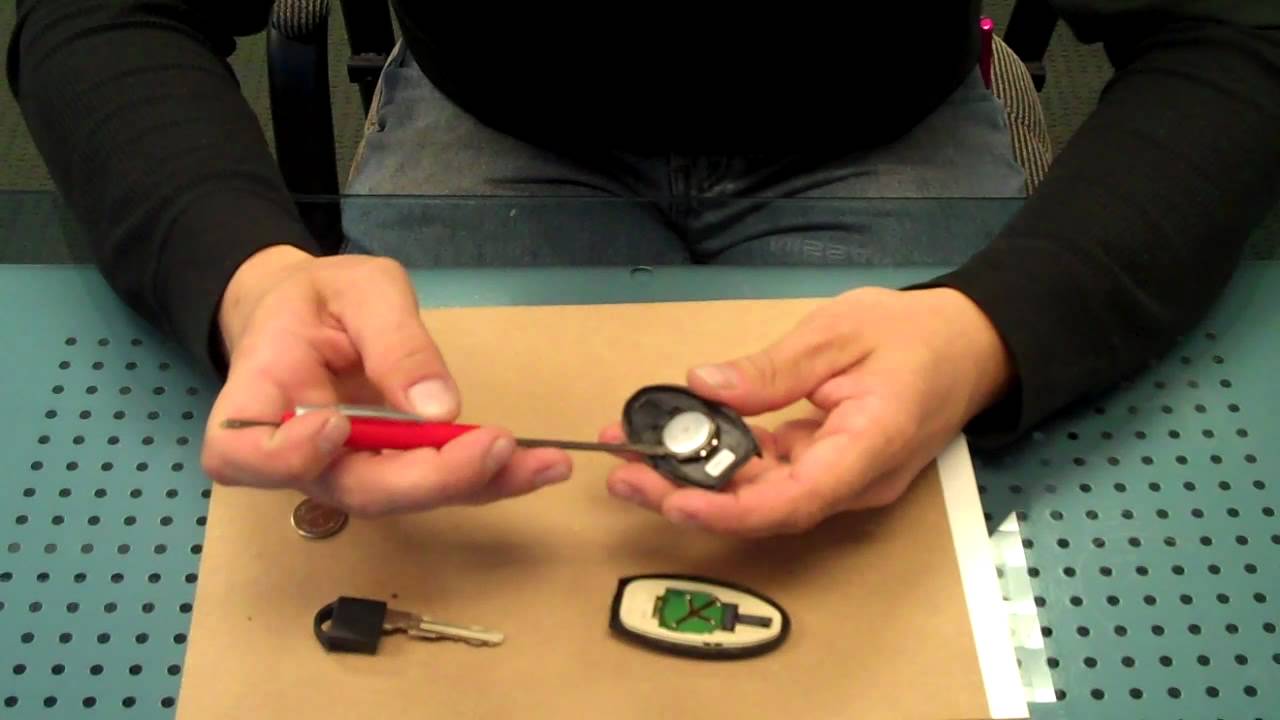
How To Change Battery In Nissan Key Fob
In our article today, we are going to show you easy steps on how to…
Best Manual Transmission Cars
Continue Reading
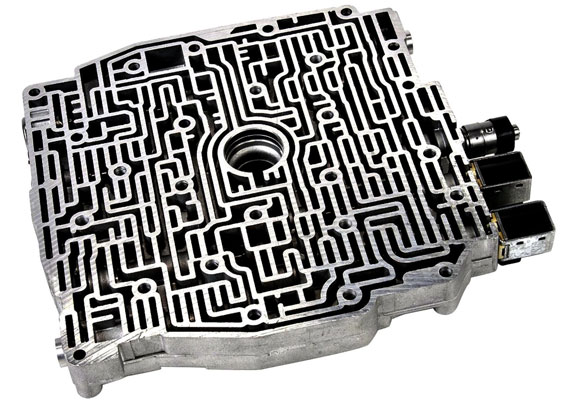
Symptoms Of a Bad Transmission Valve Body
Today, we are going to consider the symptoms of a bad transmission valve body. An…
Car problems
Continue Reading
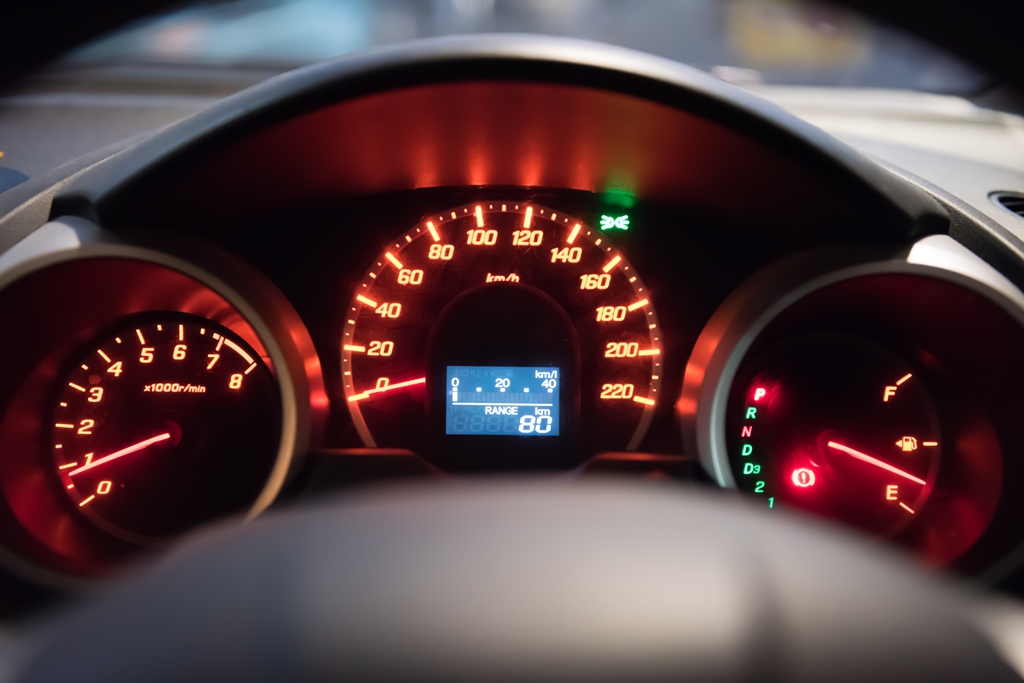
Why My Gauges Stopped Working While Driving
In our article today, we shall be looking at the reasons your car or dashboard…
Car problems
Continue Reading
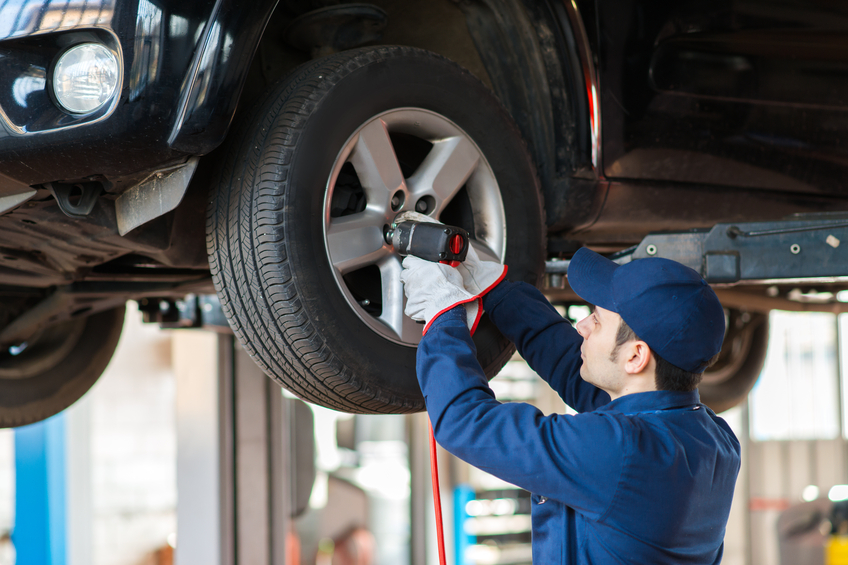
Noise From Front Wheel When Driving
In our article today, we shall look into noise from front wheel when driving, the…
Car problems
Continue Reading
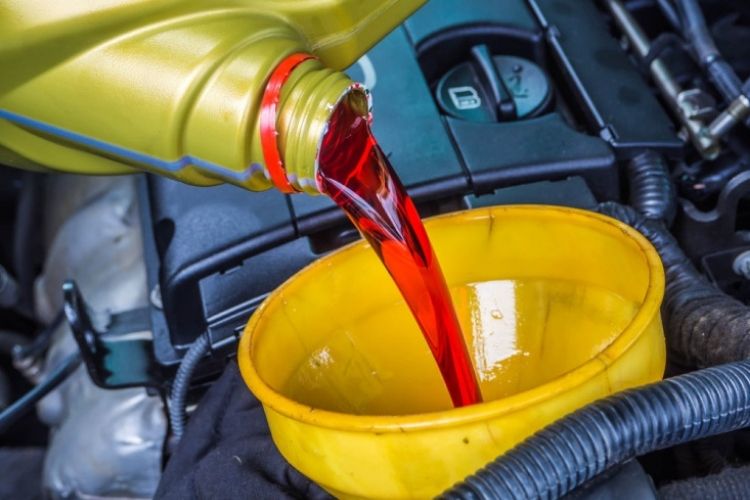
How To Change Transmission Fluid: Easy Steps
If you are planning to change your transmission fluid but don’t have an idea how…